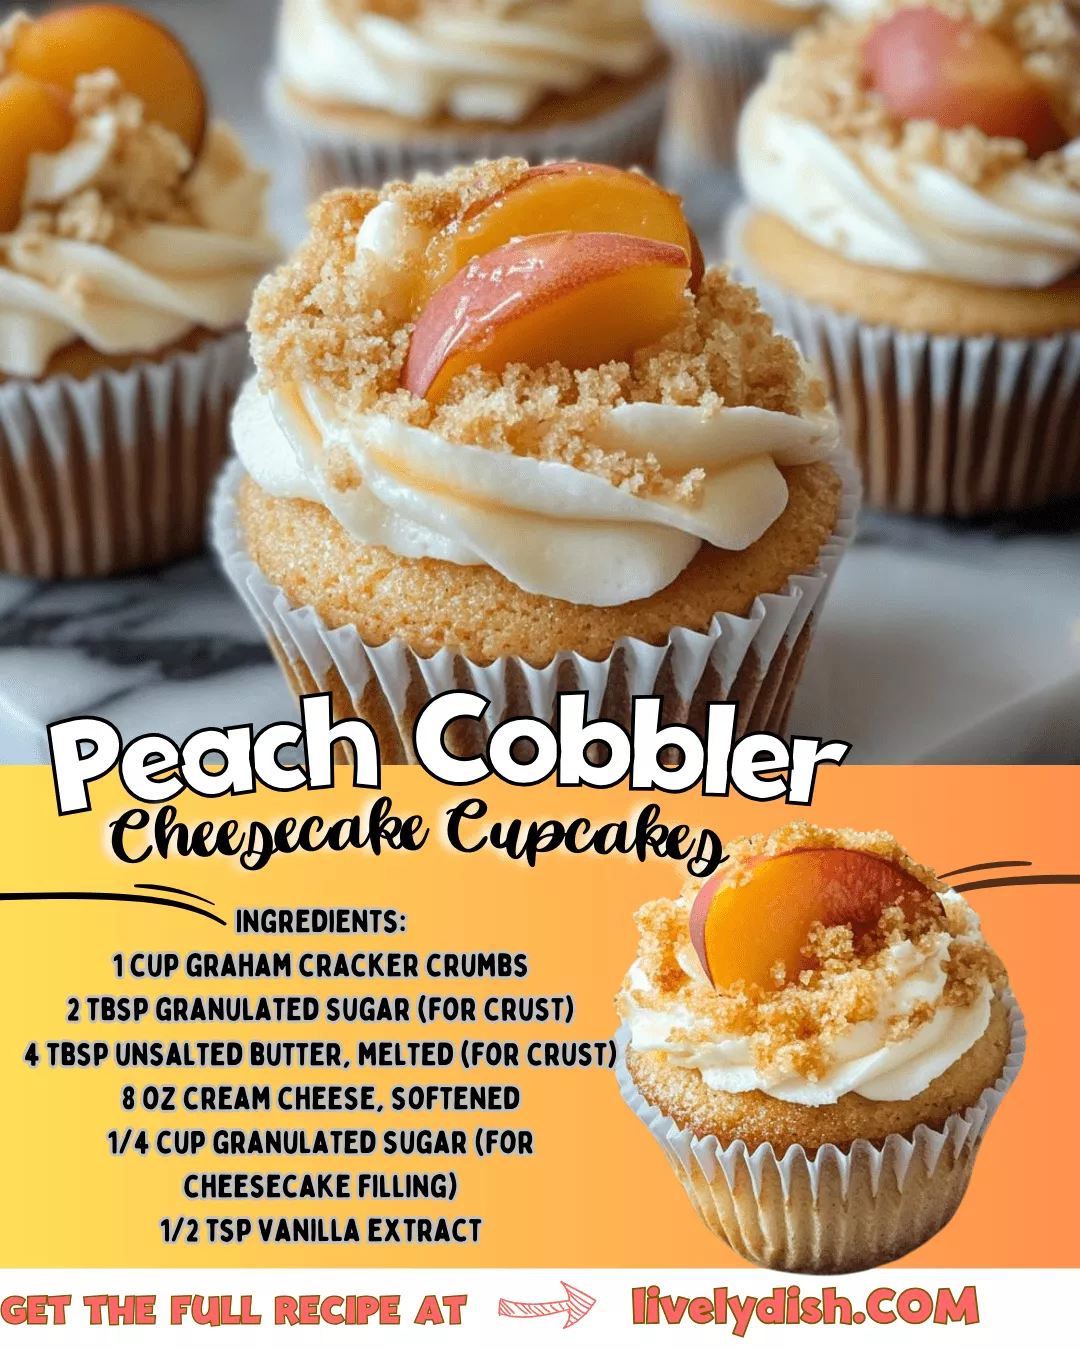
Imagine combining juicy peach cobbler with velvety cheesecake in perfect single-serving portions. These Peach Cobbler Cheesecake Cups deliver exactly that—a buttery graham cracker crust, smooth cheesecake filling, and spiced peach topping that’ll have everyone asking for seconds!
What makes this dessert truly special? First, it’s incredibly easy to make. Second, the individual servings mean no messy slicing. Best of all, you can prepare them ahead for stress-free entertaining!
Table of Contents
Why This Recipe Stands Out Peach Cobbler Cheesecake Cups
✔ Perfect portion control – No more fighting over the last slice!
✔ Textural harmony – Crunchy, creamy, and fruity layers in every bite.
✔ Versatile serving options – Great for picnics, parties, or weeknight treats.
✔ Make-ahead convenience – Simply chill until you’re ready to impress guests.
Essential Ingredients & Why They Matter
Building the Perfect Crust
- Graham cracker crumbs (1 cup) – Provides that classic cheesecake base.
- Granulated sugar (2 tbsp) – Balances the cracker’s earthiness.
- Melted butter (4 tbsp) – Binds everything while adding richness.
Creating the Creamy Filling
- Cream cheese (8 oz) – Always use full-fat for proper texture.
- Sugar (¼ cup) – Sweetens without overpowering.
- Vanilla extract (½ tsp) – Enhances the cheesecake flavor.
- Egg (1 large) – Gives structure to the filling.
- Sour cream (¼ cup) – Adds delightful tanginess.
Crafting the Cobbler Topping
- Fresh peaches (2 medium) – Peeled and diced for maximum flavor.
- Brown sugar (¼ cup) – Creates caramelized notes.
- Cinnamon & nutmeg – Warm spices that complement the peaches.
- Butter & flour – Forms the crumbly cobbler texture.
- Rolled oats (¼ cup, optional) – Introduces pleasant chewiness.
Step-by-Step Baking Guide | Peach Cobbler Cheesecake Cups
Preparing Your Workspace
Before beginning, preheat your oven to 350°F (175°C) and line a muffin tin with 9-10 cupcake liners. This preparation ensures smooth workflow.
Constructing the Crust
- Combine crust ingredients until the mixture resembles wet sand.
- Firmly press 1 tablespoon into each liner.
- Pre-bake for 5-7 minutes to set the base.
Pro Tip: Let the crusts cool slightly before adding filling to prevent sogginess.
Mixing the Filling
- Using an electric mixer, cream together the cheese and sugar.
- Incorporate remaining ingredients one at a time, scraping the bowl often.
- Divide evenly among cups, filling ¾ full for rising room.
Assembling the Topping
- Gently toss all topping ingredients in a bowl.
- Spoon over cheesecake layer, allowing some peaches to peek through.
Baking to Perfection
- Bake for 20-25 minutes until the edges are set but centers still jiggle slightly.
- Cool completely, then refrigerate for 2+ hours to firm up.
Expert Tips for Flawless Results | Peach Cobbler Cheesecake Cups
🔹 Temperature matters – Use room-temperature ingredients for smoother batter.
🔹 Peel peaches easily by blanching in boiling water for 30 seconds.
🔹 Prevent cracks by avoiding overmixing after adding the egg.
🔹 Boost presentation by garnishing with peach slices and mint leaves.
Answers to Common Questions
Alternative Fruit Options
While peaches shine, berries, apples, or pears work beautifully. Simply adjust sugar based on fruit sweetness.
Gluten-Free Adaptation
Replace graham crumbs with gluten-free cookies and use 1:1 GF flour. The texture remains excellent!
Storage Solutions
These keep well:
- Refrigerated: 3 days in airtight containers
- Frozen: Up to 1 month (thaw overnight in fridge)
Serving Suggestions
For extra decadence:
- Drizzle with caramel sauce
- Add a scoop of vanilla ice cream
- Sprinkle with toasted pecans
Why This Dessert Wins Every Time
Beyond being visually appealing, these cheesecake cups solve common dessert dilemmas:
✅ No serving stress – Everyone gets their own perfect portion
✅ Balanced flavors – Not too sweet with lovely spice notes
✅ Adaptable recipe – Works with seasonal fruits year-round
Final Verdict: Once you try these, they’ll become your go-to dessert for every occasion!
for more recipes content:
follow us on : facebook and pintrest
2 thoughts on “Easy Peach Cobbler Cheesecake Cups 01”