Advertisement
Strawberry Crunch Cheesecake Cups are the perfect no-bake treat! Creamy cheesecake layers, sweet strawberry topping, and a crunchy, buttery crust come together in individual servings that are as beautiful as they are delicious. Whether you’re hosting a party, craving a sweet snack, or looking for a fun dessert to make with kids, these cups are sure to impress.
Why You’ll Love This Recipe
- No-bake: Easy to make with no oven required.
- Individual servings: Perfect for parties or portion control.
- Customizable: Adjust the sweetness or toppings to suit your taste.
- Kid-friendly: A fun and delicious treat that everyone will love.
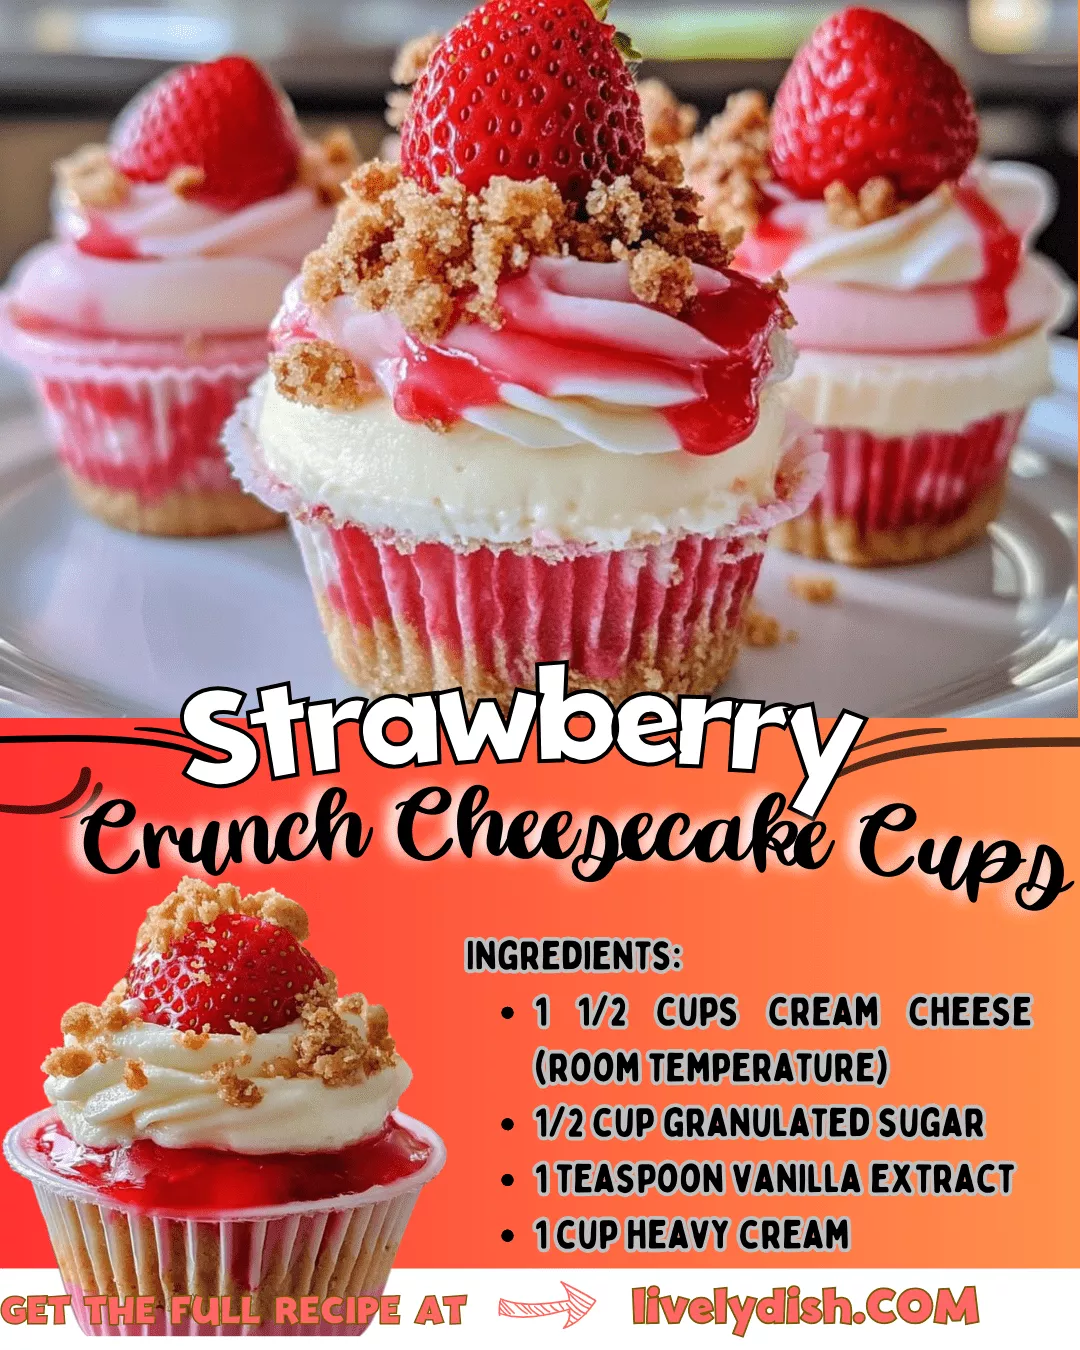
Ingredients
For the Cheesecake Layer:
- 1 ½ cups cream cheese, room temperature
- ½ cup granulated sugar
- 1 teaspoon vanilla extract
- 1 cup heavy cream
For the Strawberry Layer:
- 1 cup fresh strawberries, chopped
- 2 tablespoons granulated sugar
- 1 teaspoon lemon juice
For the Crunch Topping:
- 1 cup crushed vanilla wafers
- ½ cup crushed freeze-dried strawberries
- ¼ cup melted butter
Step-by-Step Instructions
1. Prepare the Strawberry Layer
In a small bowl, mix the chopped strawberries, sugar, and lemon juice. Let it sit for 10-15 minutes until the strawberries release their juices.
2. Prepare the Cheesecake Layer
- In a large bowl, beat the cream cheese and sugar until smooth and creamy.
- Add the vanilla extract and mix until combined.
- In a separate bowl, whip the heavy cream until stiff peaks form.
- Gently fold the whipped cream into the cream cheese mixture until fully incorporated.
3. Prepare the Crunch Topping
In a medium bowl, combine the crushed vanilla wafers, crushed freeze-dried strawberries, and melted butter. Mix until the crumbs are evenly coated with butter.
4. Assemble the Cups
- In serving cups or glasses, add a layer of the cheesecake mixture.
- Top with a spoonful of the strawberry mixture.
- Add another layer of cheesecake mixture on top.
- Sprinkle the crunch topping generously over each cup.
5. Chill and Serve
Refrigerate the cheesecake cups for at least 2 hours to set. Serve chilled and enjoy!
Tips for Success
- Use Room Temperature Cream Cheese: This ensures a smooth and lump-free cheesecake layer.
- Don’t Overmix: Fold the whipped cream gently to maintain a light and airy texture.
- Adjust Sweetness: Taste the strawberry mixture and add more sugar if needed.
- Make Ahead: Assemble the cups the night before and refrigerate until ready to serve.
Variations and Add-Ons
This recipe is super versatile! Here are some fun ways to customize it:
- Different Fruits: Use blueberries, raspberries, or peaches instead of strawberries.
- Chocolate Twist: Add chocolate chips or drizzle with chocolate sauce.
- Nutty Crunch: Substitute the vanilla wafers with crushed graham crackers or nuts.
- Layered Parfait: Serve in clear glasses for a beautiful layered effect.
Serving Suggestions
These Strawberry Crunch Cheesecake Cups are perfect for:
- Parties: Serve as individual desserts for a crowd.
- Dessert Bars: Set up a DIY cheesecake cup station with various toppings.
- Snacks: Enjoy as a sweet treat any time of day.
- Gifting: Package in cute jars or cups for a homemade gift.
Storage and Reheating
- Storage: Store leftovers in an airtight container in the refrigerator for up to 3 days.
- Freezing: Freeze the cups (without the strawberry layer) for up to 1 month. Thaw in the refrigerator before serving.
FAQs
Can I use frozen strawberries?
Yes! Thaw and drain them well before using.
Can I use whipped topping instead of heavy cream?
Yes, but homemade whipped cream adds a richer flavor.
Can I make this gluten-free?
Absolutely! Use gluten-free vanilla wafers or cookies.
Why This Recipe Is a Winner
These Strawberry Crunch Cheesecake Cups are the ultimate no-bake dessert—creamy, fruity, and crunchy all in one bite. They’re easy to make, customizable, and perfect for any occasion. Whether you’re serving them at a party or enjoying them as a sweet treat, they’re sure to bring smiles to the table.
Let’s Make It Together!
I’d love to hear how your Strawberry Crunch Cheesecake Cups turn out! Share your results in the comments below or tag me on social media with #LivelyDish. Happy cooking! 🍓✨